Rolling my Own JWT Based Auth in SolidStart with Elysia
March 19, 2025
How to Setup and Tinker with a DBEST Project & Add Auth
Rolling Your Own Auth
While mastering Solid.js and toying with different stack setups, I found a stack called DBEST that looked pretty interesting. I spun it up, and lo-and-behold it actually worked. DBEST gives you a slick setup with SolidStart and a Postgres backend that uses Drizzle as an ORM. It's a neat way to write web code in a full stack app. From there, I decided:
Can I add auth to this?
Here I am documenting my journey. It took a little finagling, but I managed to produce a working code sample that's pretty simple. Hopefully, by the end of this article, you'll have some insight into how JWT works and you'll find confidence in building a working setup.
Getting DBEST to Work
To get this setup going, first thing I did was install bun which will allow you to be able to bootstrap the project. Then clone using the following command (from their docs) bun create itsyoboieltr/dbest-stack dbest-stack2. Next, use bun run dev and the project will start right up, at first giving you a pretty cool demo with an in-memory database to play with. You should see a todo app you can add and remove items from, pretty neat.
For real persistence, the first required step is to rename the .env.sample to simply .env. Next, I installed podman with brew install podman. Podman is effectively the same thing as Docker, just without the nag-ware. Once you have podman going all that you really need to do is podman compose up, it will take a little while, then spin up the entire project for you with real persistence. After trying this out, open a second terminal window and use podman compose down to stop the system and clean up your containers.
Now, for this to work correctly locally, we'll need to expose postgres ports in the docker-compose.yml
  database:
    image: postgres:16-alpine
    restart: always
    environment:
      POSTGRES_USER: ${DATABASE_USER:-postgres}
      POSTGRES_PASSWORD: ${DATABASE_PASSWORD:-example}
      POSTGRES_DB: ${DATABASE_NAME:-dbest}
    ports:
      - "5432:5432" #⬅️ Add this under 'ports'
    volumes:
      - database:/var/lib/postgresql/data
Once it's up an running with podman compose up again, you should kill the bun container by running podman ps to see which container hosts the bun instance, probably then podman stop dbest-stack_app_1. Then in the root directory run bun run dev and you should see your todos you've entered before; these are being persisted by our postgres container that we'll leave running.
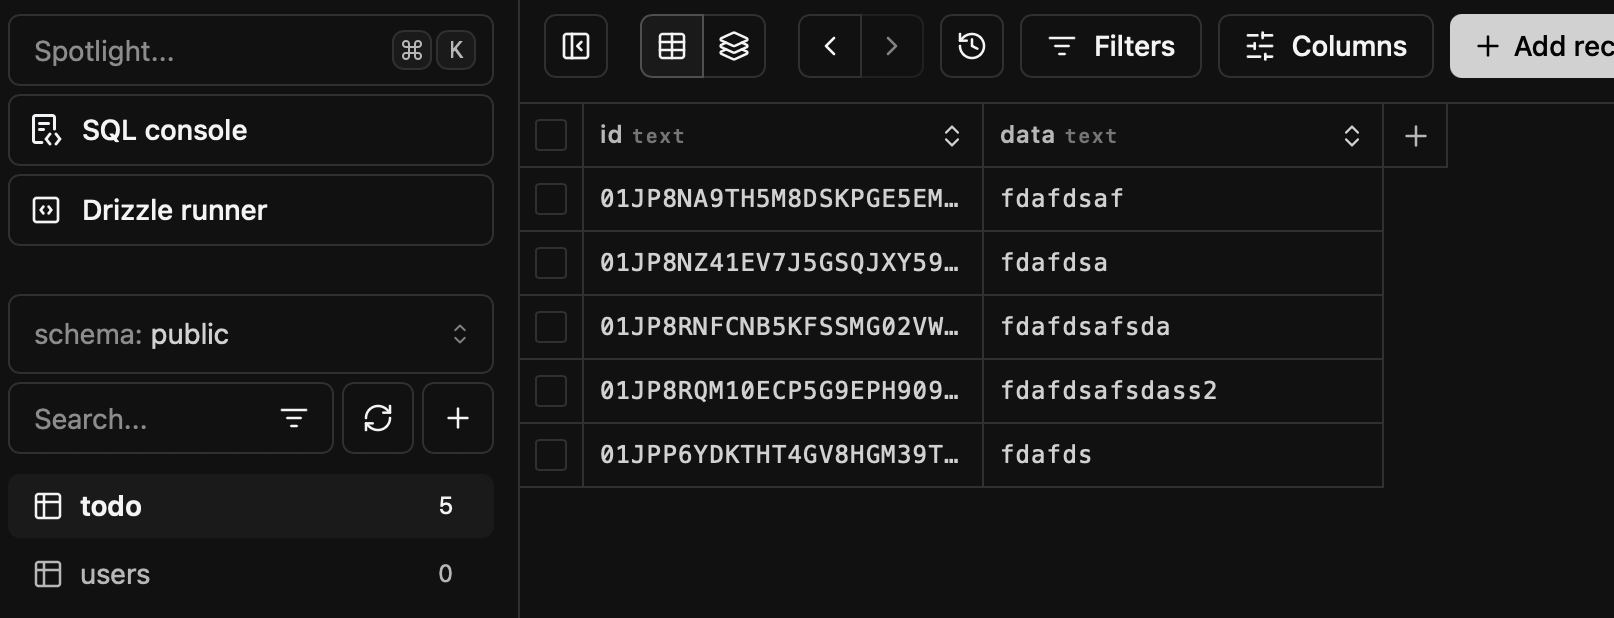
Getting bun studio to Work Properly by Sourcing the .env File
A neat trick is that you can also do bun studio and have a live database editor! Nice setup with drizzle, the only caveat is you need to source the .env file before running the command. While this is kind of an aside, I decided to add to my ~/.zshrc file a simple helper to export my environment variables. This is a useful function where when you are in any project you can source the .env and get see the variables in terminal simply by using the loadenv command.
loadenv() { set -a; source .env; set +a; }
So, we run loadenv && bun studio and we have a full database editor with some nifty features. Good job on the drizzle team adding this studio feature, a nice free version without having to load the db into Intellij with an adapter.
What is JWT and How Do we make Simple Auth?
JWT Tokens are a popular self-signed token that expires after a certain amount of time. In this project, we'll need to add bcrypt as a dependency bun install bcrypt. We'll need to tinker with the project a bit and add a new database table via migration. Luckily, this isn't so complicated thanks to Drizzle.
I created a new file in the api folder, api/auth/schema.ts and added this code to it following the setup of todos.
export const users = pgTable("users", {
  id: serial("id").primaryKey(),
  username: varchar("username", { length: 255 }).unique().notNull(),
  password: text("password").notNull(),  // Store hashed password
});

export const userSelectSchema = createSelectSchema(users, {
  username: t.String({ minLength: 1, default: '' }),
  password: t.String({ minLength: 1, default: '' }),
});

export const userInsertSchema = t.Omit(userSelectSchema, ['id']);
Then, add the scheme to the main schema in ~/api/schema
export { users } from './auth/schema'The cool part: run loadenv && bun push and you'll see some output in the terminal. Now go back to drizzle studio and like magic it has run a database migration for you that has created a new table. Using text('password') we'll be certain our passwords are stored in a way Postgres can recognize.
Creating the Register Auth Endpoint
From there, I created a file in ~/api/auth/server and set it up with an Elysia endpoint.
export const usersRoute = new Elysia()
  .use(
    jwt({
      name: "jwt",
      secret: process.env.JWT_SECRET_TOKEN ?? "",
      exp: "20m",
    })
  )
  .use(cookie())
  .post("/register", async ({ body }) => {
    const { username, password } = body;

    const hashedPassword = await bcrypt.hash(password, 10);
    console.log("Inserting:", { username, password: hashedPassword });
    try {
      await db.insert(users).values({ username, password: hashedPassword });
      return { success: true };
    } catch (err) {
      console.error("DB Insert Error:", err);
      return { error: err.message };
    }
  })
You'll notice a new environment variable JWT_SECRET_TOKEN. The proper way to create this is to add it to the .env and pop open the terminal, run openssl rand -base64 64 and copy that output as the value. This will give you a random string that we'll use to seed our password hashes. This is important, because we don't want our password stored in plain text in the db. All passwords should always be hashed. The hash key must be stored as a secret (in our case an environment variable).
Once that's in place, restart your server and now you can test this endpoint with a simple curl command or using an Intellij .http scratch file.
curl -X POST http://localhost:3000/api/register \
  -H "Content-Type: application/json" \
  -d '{"username":"test@example.com", "password":"TestPass123"}'
and you should see a successful response. The cool part is, go look in the database and you will see a hashed password.
Adding the Login and Checkme Endpoints
Now, chaining off of our other request, we can add a login endpoint that will test our password against one that's beamed in.
 .post("/login", async ({ body, jwt, cookie: { auth } }) => {
    const { username, password } = body;

    try {
      const user = await db
        .select().from(users)
        .where(eq(users.username, username))
        .limit(1);

      if (!user.length) return { error: "User not found" };
      const firstUser = user[0] ?? { id: "", password: "" };
      const valid = await bcrypt.compare(password, firstUser.password);
      if (!valid) return { error: "Invalid credentials" };

      const token = await jwt?.sign({ id: firstUser.id, username });

      return { token };
    } catch (err) {
      console.error("Select users error:", err);
      return { error: err.message  };
    }
  })
Here we are using bcrypt.compare to check our password against the hash. From there, we use JWT to sign our user's id and generate a JWT token. This will be used to further validate the session.
curl -X POST http://localhost:3000/api/login \
     -H "Content-Type: application/json" \
     -d '{"username": "test@example.com", "password": "TestPass123"}'
You should see a response with some gobbledy-gok that is our session token. It's set to expire after a certain amount of time, essentially forcing our session to be limited. This could be enhanced by rolling over the sessions and managing tokens, but this is left for a different excercise. For now, we've created a user and 'logged in' so that any time we send a request with that token we'll be all set just by simply evaluating it's self-signature. Pretty nifty.
The Checkme Endpoint
  .get("/me", async ({ jwt, request, set }) => {
    const authHeader = request.headers.get("Authorization");

    if (!authHeader?.startsWith("Bearer ")) {
      set.status = 401;
      return { error: "Missing or invalid Authorization header" };
    }

    const token = authHeader.split(" ")[1];
    const user = await jwt.verify(token);

    if (!user) {
      set.status = 401;
      return { error: "Unauthorized" };
    }
    return user;
  })
As per the standard, we'll need to fire a request to this with the Bearer #### authorization header. To test this out try running the curl command as you'd expect.
curl -X GET "http://localhost:3000/api/me" \
  -H "Authorization: Bearer {{TOKEN HERE}}"
Obviously, you will need to replace {{TOKEN HERE}} with the token returned in the first response. You should see a 200 response verifying we are in-fact "logged-in". If you check the database, you'll also notice the token is never stored out anywhere. JWT is using cryptography to verify itself based on our secret. You'll notice the tokens are always much longer than the actual JWT_SECRET_KEY you're using.
Think of it like sealing a letter with a personalized wax stamp. Every time you seal the letter, using your unique stamp (secret), it creates a consistent, recognizable wax imprint (signature). Anyone with the same stamp can verify authenticity easily—if someone alters the letter's contents, the seal no longer matches, clearly revealing tampering. JWT employs a similar mechanism, mathematically verifying each token’s authenticity against your secret key.
Now that we have this simple setup going, it begs the question:
What do we actually do with this, Brooks?
The real nice thing about this setup is we can easily leverage cookies to accomplish a seamless login experience for an end-user in the client. The cookie will be automagically stored by our browser, then passed back and forth between the client and server seamlessly. This is a nice way to do it for any full-stack project. Let's see how this works seamlessly with a GUI.
Adding a Simple UI to Test the Endpoints Out
Using solid.js, we'll build a simple component that will fire off a request to login. Thankfully, this project comes with Tailwind out of the box so I can style simply with that by copying the styles from the initial buttons. Then, we create 3 signals, one for user, pass, and an output message. These signals work sort of like setState in React, but they're admittedly a bit simpler. This is our basic component's start:
const btnClass = 'rounded border-2 border-black bg-gray-300 px-4 transition-all hover:bg-gray-400 active:bg-gray-400 disabled:cursor-not-allowed disabled:bg-gray-400'
const baseUrl = "http://localhost:3000/api"

export default function AuthPage() {
  const [username, setUsername] = createSignal("");
  const [password, setPassword] = createSignal("");
  const [message, setMessage] = createSignal("");
}
Next, I'm going to use RxJS to make a request. Install first with bun install rxjs and add these two functions to trigger our POST requests. I picked Rx for this because it plays nicely with the reactive nature of solid.js, and it has a nice clean syntax. It's also very flexible, if we wanted to trigger other requests based on some kind of result here it would be very easy in the future. For now we include a "credentials:include" option, this is necessary for cookies later once we enable them on the backend. Add this code to your new component:
export default function AuthPage() {
//...
  const authAction = (endpoint: string)=> ()  => {
    fromFetch(`${baseUrl}/${endpoint}`, {
      method: "POST", credentials: "include",//Sends & receives cookies
      headers: { "Content-Type": "application/json" },
      body: JSON.stringify({ username: username(), password: password() }),
    }).pipe(
      switchMap((res) => res.text()),
      catchError((err) => of(`Error: ${err.message}`))
    ).subscribe(setMessage);
  };

  const action = (endpoint: string)=> ()  => {
    fromFetch(`${baseUrl}/${endpoint}`, {
      method: "POST", credentials: "include",
    }).pipe(
      switchMap((res) => res.text()),//convert response to text
      catchError((err) => of(`Error: ${err.message}`))
    ).subscribe(setMessage);
  };
As mentioned above, for this example I am using solid.js class= for styles. Then, basically we make 4 types of requests, with 4 buttons, two which require credentials.
//...
  return <>
    <h2>Auth Demo (RxJS)</h2>
    <input type="text" placeholder="Username" onInput={(e) => setUsername(e.currentTarget.value)} />
    <input type="password" placeholder="Password" onInput={(e) => setPassword(e.currentTarget.value)} />

    <button class={btnClass} onClick={authAction("register")}>Sign Up</button>
    <button class={btnClass} onClick={authAction("login")}>Log In</button>
    <button class={btnClass} onClick={action("profile")}>Check Me</button>
    <button class={btnClass} onClick={action("logout")}>Logout</button>

    <p>Response: {message()}</p>
  </>;
Now we have a simple page! Just by creating the file in /routes/ you can now navigate to it.
Adding a Cookie Into the Mix
You'll notice we haven't implemented the "profile", "logout" yet. This will require cookies to be enabled in our backend. I accomplished this by using
.use(cookie())In my chain, then adding (after the token is generated in ~/api/auth/server
//...
  const token = await jwt?.sign({ id: firstUser.id, username });
//...

  auth?.set({
    value: token,
    httpOnly: true,
    maxAge: 7 * 86400,
    path: '/',
    sameSite: "lax"
  })

//...
  return { token };
//...
The Profile Endpoint
This returns our username that we passed in in jwt.sign()! Pretty neat!
  .post('/profile', async ({ jwt, error, cookie: { auth } }) => {
	const profile = await jwt.verify(auth?.value)

	if (!profile) return error(401, 'Unauthorized');
	return `Hello ${profile.username}`
  })
The logout Endpoint
This endpoint invalidates our cookie by setting the expiration date to right now. This effectively let's the client know to erase the cookie and stop sending tokens. What's interesting is the cookie itself is reactive, thanks to .set().
  .post("/logout", async ({ cookie: { auth } }) => {
	try {
	  auth?.set({
	    httpOnly: true,
	    secure: false,
	    sameSite: "lax",
	    path: "/",
	    expires: new Date(0) // Expire the cookie immediately
	  });
	} catch (err) {
	  console.error("Logout Cookie Error:", err);
	  return { error: err.message  };
	}
	return { message: "Logged out" };
  })
Adding an Authorized Page Into the Mix
What's nice is we can create global signals and they'd work as you'd expect. I threw this in a file in utils for use checking our auth status.
export const [isAuthenticated, setIsAuthenticated] = createSignal(false);

export async function checkAuthStatus() {
  const res = await fetch("http://localhost:3000/api/profile", {
    method: "POST", credentials: "include"
  });

  setIsAuthenticated(res.ok);
}
This can be used to prevent a page load.
export default function EditProfile() {
  const navigate = useNavigate();

  createEffect(() => {
    checkAuthStatus();
    if (!isAuthenticated()) {
      navigate("/authPage");
    }
  });

  return <>
    <h2>Edit Profile</h2>
    <p>Welcome, you can edit your profile here.</p>
  </>;
}
In Conclusion
If you've made it this far... you should have a working auth demo by now with jwt and cookies. If not, you can always checkout the project on Github and give it a shot. This project is by no means perfect, but I added a few bells and whistles like styles and nav into the mix.